
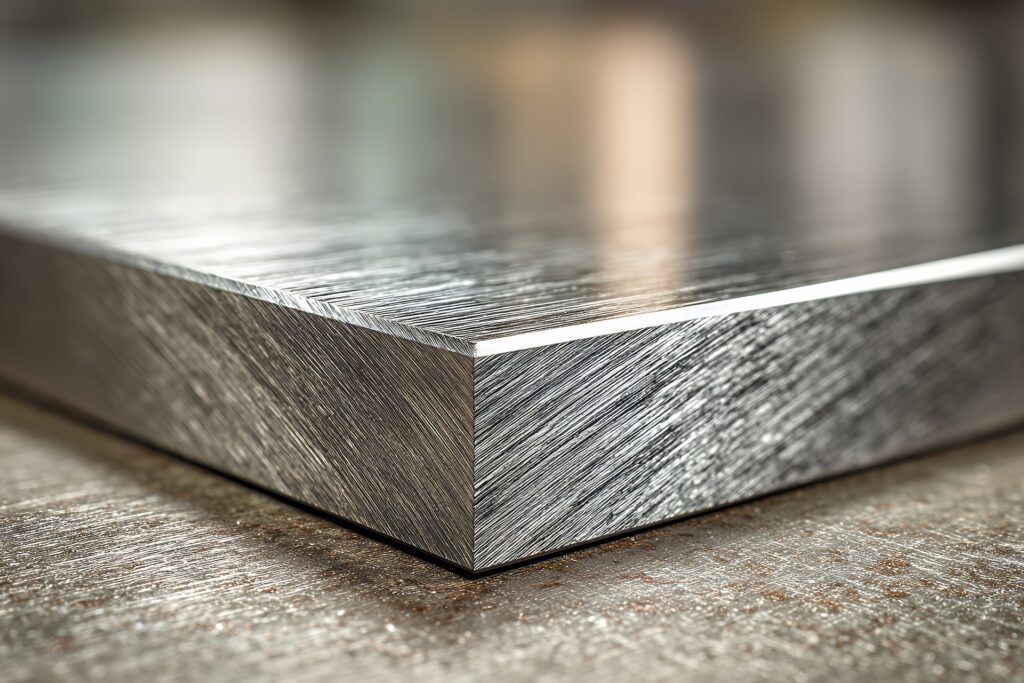
It has happened. A moment of inattention while moving a heavy pot, an unfortunate knock with keys against the railing, or simply years of intensive use have caused your perfectly smooth inox surface to lose its original shine. You look at those scratches and wonder if it’s already time for a replacement? Listen, I have good news for you – stainless steel is one of the most forgiving materials ever invented by man. Unlike laminates or lacquered wood, metal does not need to be discarded when it shows signs of everyday wear and tear. Reviving stainless steel is a process that, with a little patience, you can carry out in almost any garage or home workshop. This is not magic; it is physics and the right approach to the metal’s structure, which is just waiting to shine again like a new coin.
Let’s be honest, scratched steel can be quite an eyesore, especially when it adorns prominent places in your living room or kitchen. However, before you start to panic, it is worth understanding that stainless steel is a homogeneous material. What does this mean in practice? It’s simple – beneath every scratch lies exactly the same high-quality metal. It is not a thin layer of chromium that can be worn down to bare iron. Thanks to this, restoring elements such as stainless steel sheets or decorative pipes essentially involves removing a microscopic layer of material to reveal the untouched metal underneath. It’s a bit like exfoliating your furniture and accessories.
Before you reach for the sandpaper, you must accurately diagnose the patient. Mirror-finish surfaces are treated differently from those with a brushed finish. A mistake at this stage can result in a dull patch instead of a refreshed element, which will look worse than the original scratch. The key word here is “grind direction”. If you ignore it, you can forget about a perfect final effect. But don’t worry, we will go through this step by step so that the entire operation will be a piece of cake for you.
Grinding or Polishing – Which Method Will Save Your Items?
Many people confuse these two terms, but the difference between them is fundamental. Grinding is an “aggressive” process used when scratches are deep and can be felt under the fingernail. This is where we repair stainless profiles that have been damaged during transport or installation. Mechanical polishing, on the other hand, is a finishing stage that gives the metal its final shine or restores the mirror effect. If your sink only has minor, spiderweb-like scratches, polishing may suffice. However, if the scratch is substantial, grinding is unavoidable. It’s a bit like dental treatment – sometimes sandblasting is enough, and sometimes you need to use a drill to get to the root of the problem.
Remember that metallurgical products have their own characteristics that must be respected. During work, the metal heats up, which in extreme cases can cause discoloration. Therefore, in domestic conditions, manual work or the use of power tools at low speeds works best. Do not rush in recklessly and do not press the grinder down with full force. Steel loves delicacy and consistency. If you are working with elements such as stainless steel pipes, you must remember to maintain their curved shape, which requires a bit more skill than working on a flat sheet of metal.
It is also worth mentioning what professionals call contact corrosion. This is a silent killer of your efforts. If you use a grinding disc or sandpaper previously used on ordinary black steel, you will embed iron particles into the inox structure. The result? After a few days, your “restored” steel will start to rust. Always use new, clean abrasive materials dedicated exclusively to stainless steel. This is a golden rule that must not be broken if you do not want to start the whole process over again, but with a much emptier wallet and a less cheerful expression.
Selecting the Appropriate Grit of Sandpaper for Steel Renovation
If you have decided that grinding is necessary, it is time to select the tools. Sandpaper is your best friend, but only if you know how to use it. When renovating stainless steel, we usually start with a grit of around 240 or 320 if the scratch is really deep. Listen, this is not an armour race – do not take “100 grit” because you will make grooves that you won’t be able to remove for a week. The process must be gradual. After each stage, move to a higher grit number, for example from 320 to 400, then to 600, until you achieve the desired level of smoothness.
For brushed surfaces, the matter is somewhat easier because you do not need to aim for a perfect mirror. You only need to “match” the existing grind pattern. Here, abrasive non-woven pads work excellently; they are flexible and allow you to achieve the characteristic satin look typical of modern stainless profiles. Non-woven pads forgive more mistakes than sandpaper and allow for gentle transitions between the repaired area and the rest of the element. This is an ideal solution for amateurs who are just beginning their adventure with metal renovation.
Do not forget about cooling and lubrication. Special stainless steel pastes not only facilitate sliding but also prevent the sandpaper from clogging with metal particles. Thanks to this, the work proceeds faster, and the surface is more uniform. Metallurgical products appreciate a professional approach, even if it takes place on a kitchen table. Well-chosen sandpaper and a bit of patience are 90 percent of the success in the fight to restore the former splendour of your favourite items.
Removing Deep Scratches from Brushed Surfaces
Brushed surface is the most popular type of finish you encounter every day. It features distinct, parallel lines that give the metal a raw elegance. When a scratch appears, it usually cuts across these lines at an angle, which simply looks poor. To fix this, we need to restore the original lines. Listen carefully, the most important rule: always sand along the brushing lines. Never, ever make circular or crosswise movements. It is like stroking a dog against the fur – you can do it, but the effect will be dreadful and nobody will like it.
If the scratches are on a flat element, such as stainless steel sheets, it is advisable to use a sanding block to maintain even pressure. Work with steady, long strokes. Do not focus solely on the scratch itself, as you will create “dents” in the metal that will be visible under light. Expand the working area so that the new texture smoothly blends with the old one. This requires a sense of touch, but after a few minutes you will feel the rhythm of the metal. It is a very satin-like sensation when you see an ugly blemish disappear under your hands, replaced by a perfectly straight, fresh inox texture.
Finally, it is worth wiping everything with a special cleaning cloth to remove metallic dust. After such treatment, stainless steel needs a moment to rebuild its passive layer, which is the natural barrier protecting against corrosion. You can assist this process by using professional stainless steel accessories in the form of protective sprays. Thanks to this, your work will be preserved, and the metal will gain additional protection against fingerprints and further scratches. This is the finishing touch in the renovation process.
Can every steel be restored in domestic conditions?
Let us be honest and say clearly: not everything can be repaired at home with a piece of sandpaper and good will. If the scratch is so deep that it almost cuts through the metal, we have a problem. The same applies to complex elements, such as stainless steel fittings with very intricate shapes, where there is no room for hand manoeuvring. In such cases, mechanical polishing in a professional workshop is the only reasonable solution. Experts have machines capable of restoring the shine even to the most fatigued components without the risk of damage.
It is also worth knowing that some sheets have factory coatings, for example, anti-fingerprint protection. If you start sanding them, you will remove this layer irreversibly, and the treated area will get dirty faster than the rest. Therefore, before you start, check whether your stainless steel is “enhanced” with additional chemical treatment. In most cases, however, steel is simply pure metal that practically begs for a second chance.
DIY renovation is not only a money saver but also a great satisfaction. Repairing a railing scratched by children’s toys or refreshing the legs of a table made from stainless steel profiles gives a sense of being in control. Steel is a material for years, and thanks to the ability to restore it, those years become almost endless. Do not be afraid of a few scratches. Treat them as an excuse to get to know the nature of metal and discover the tinkerer within you who can restore the magic to objects seemingly written off as lost causes.